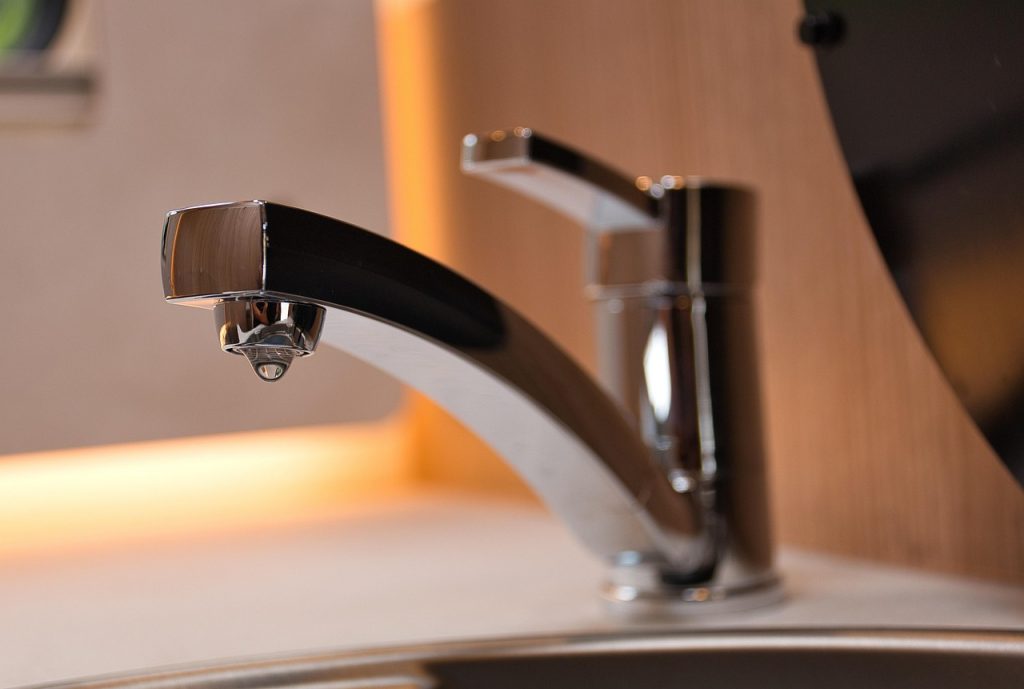
- Leaky faucets waste water and increase utility bills; identifying the cause is the first step to fixing them.
- The type of faucet (compression, cartridge, ball, or ceramic disc) determines the repair method and parts needed.
- Common fixes include replacing worn washers, O-rings, cartridges, or seals, depending on the faucet type.
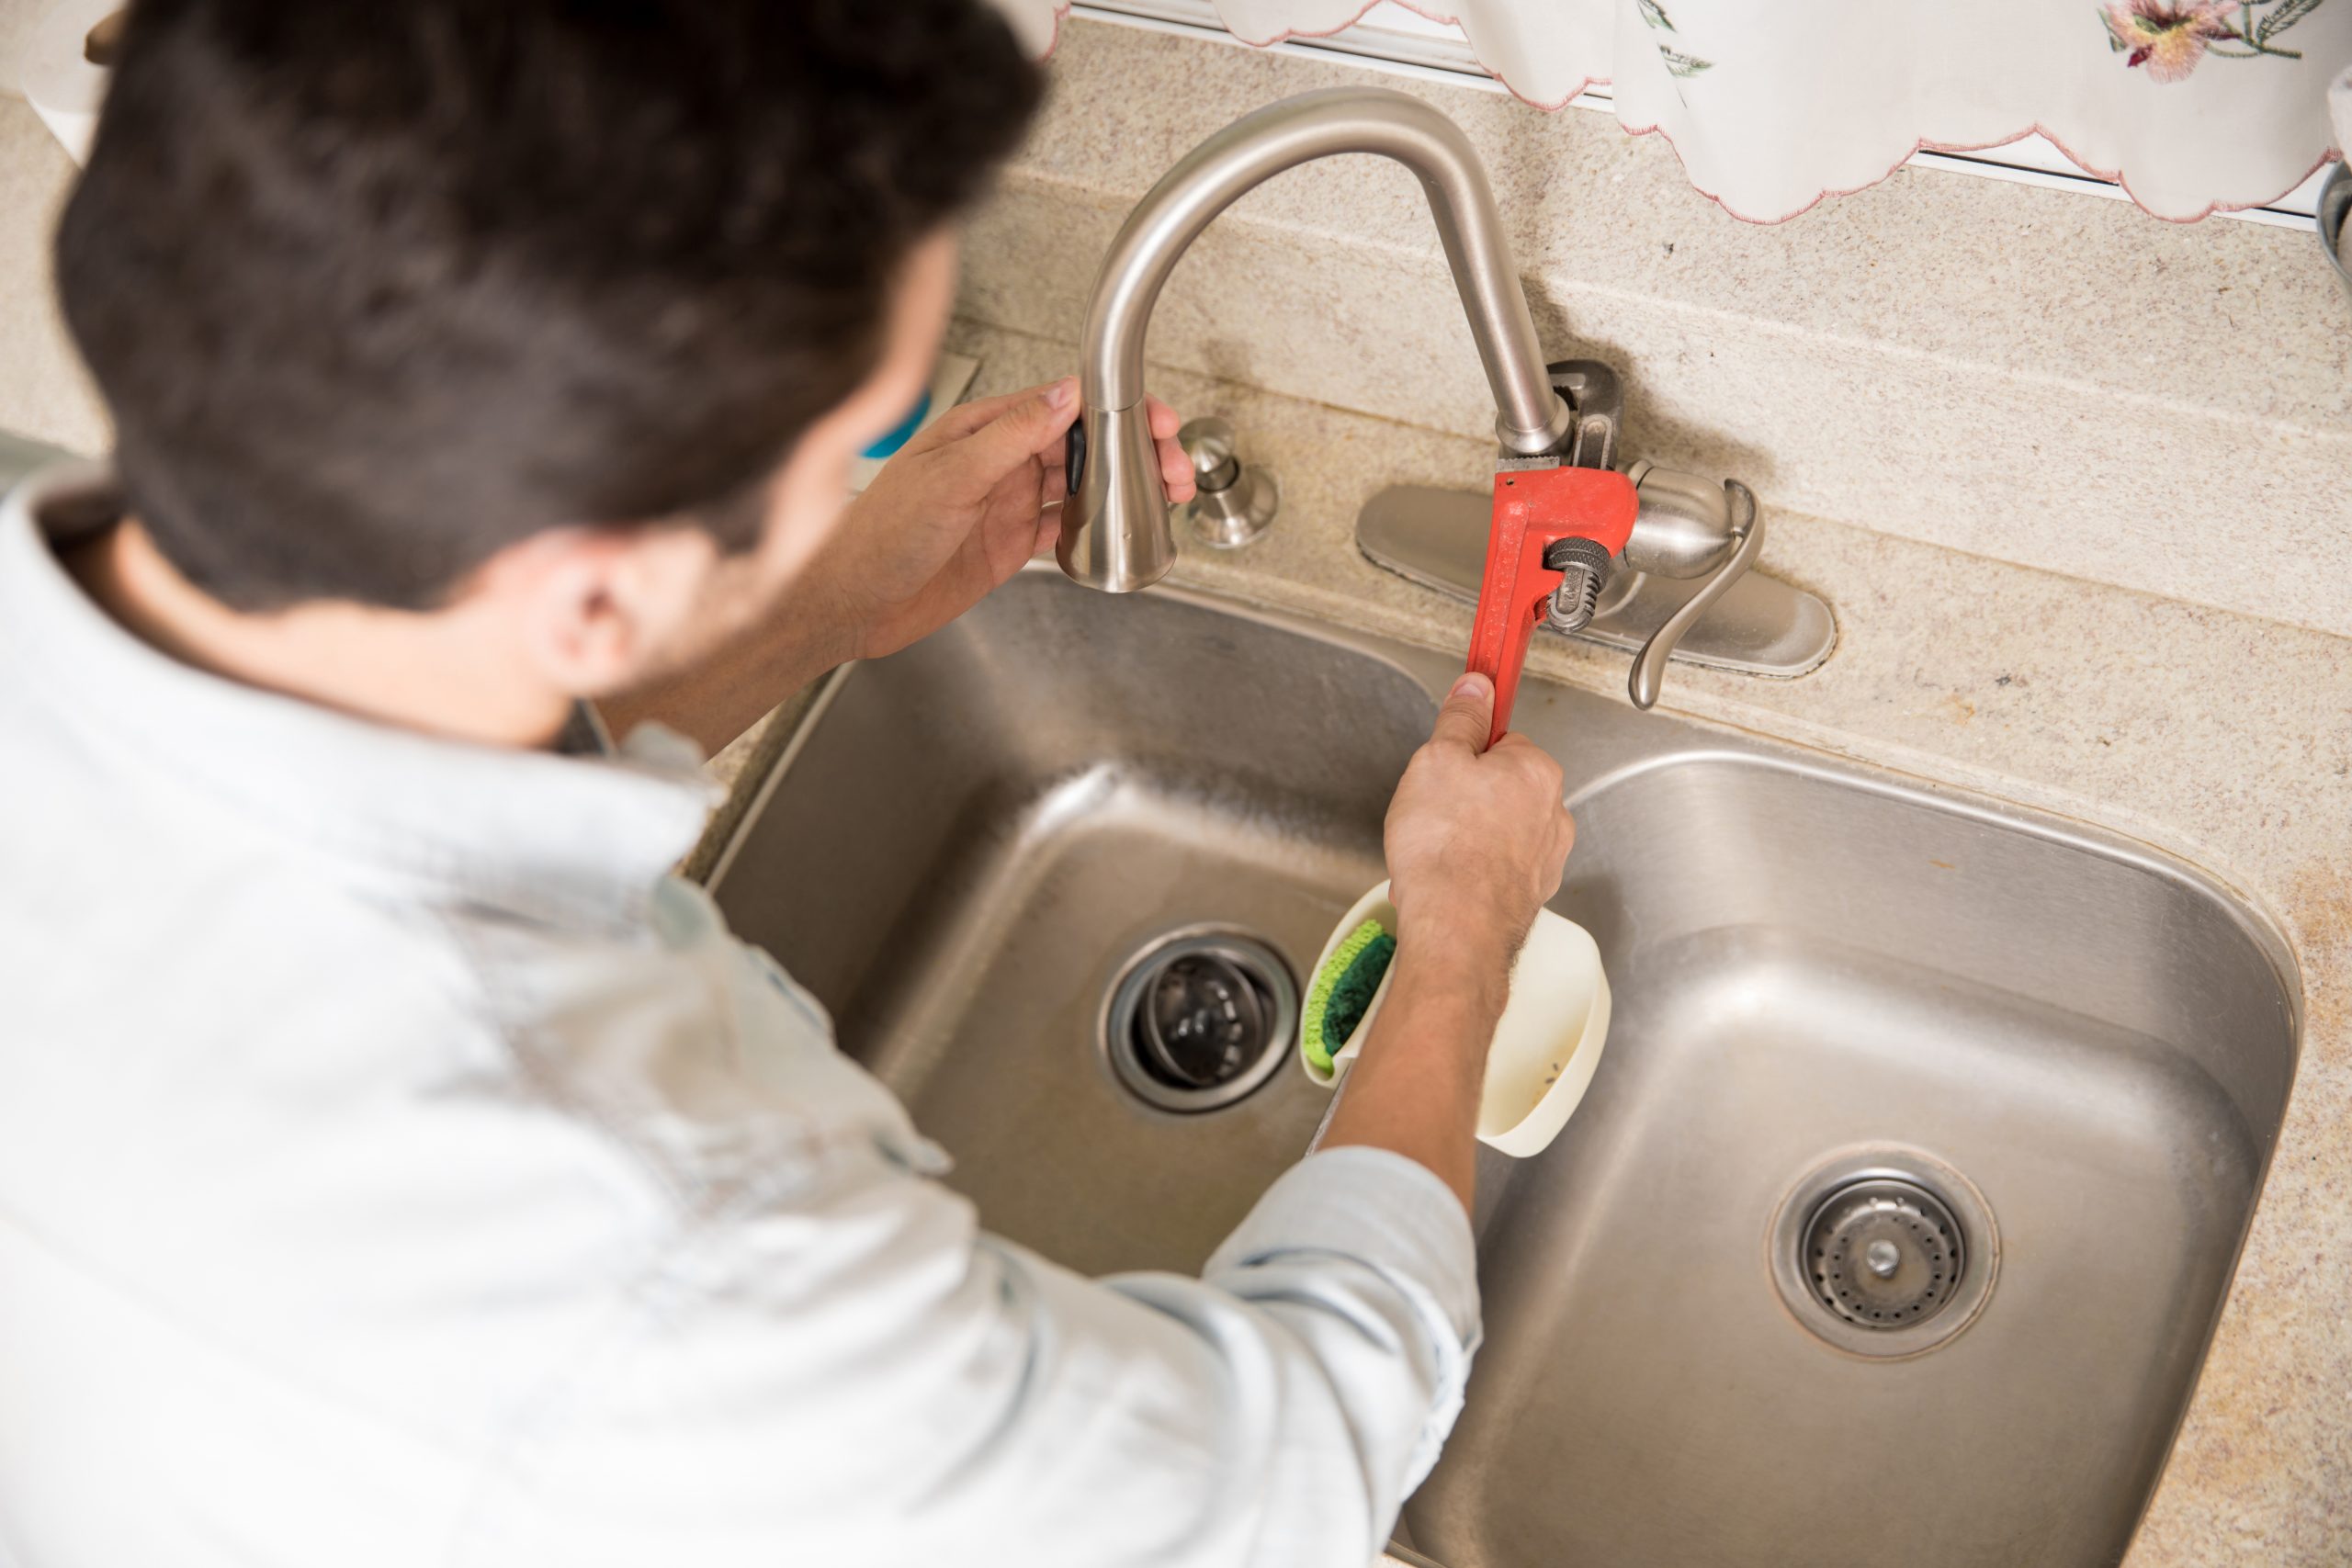
- Basic tools like wrenches, screwdrivers, pliers, and plumber’s grease are usually sufficient for DIY repairs.
- Temporary solutions like tightening fittings, cleaning mineral buildup, or lubricating O-rings can stop minor leaks.
- Preventive maintenance—regular inspections, cleaning, and part replacement—reduces future leaks and extends faucet lifespan.
- Call a plumber if leaks persist, parts are broken, or multiple faucets are affected, to prevent water damage and ensure proper repair.
A leaky faucet might seem like a small annoyance, but it can waste hundreds of gallons of water each year and increase your utility bills. Whether it’s dripping constantly or only leaking when you turn the handle, knowing how to fix a leaky faucet is a skill every homeowner should have. In this guide, we’ll cover everything from identifying the type of faucet you have to step-by-step repair instructions for each type.
Why Is My Faucet Leaking?
Faucets can leak for a variety of reasons. Before diving into repairs, it’s important to understand what might be causing the leak. Common reasons include:
- Worn-out washers or O-rings
- Loose parts or fittings
- Corrosion or mineral buildup
- High water pressure
- Faulty cartridge or valve
Identifying the cause of the leak will make it much easier to fix. In most cases, a little maintenance or replacing a small part will stop the leak entirely.
What Tools Will You Need to Fix a Leaky Faucet?
Having the right tools makes the repair process faster and less frustrating. Here’s a list of essentials:
- Adjustable wrench or basin wrench
- Screwdrivers (flathead and Phillips)
- Pliers
- Allen wrenches
- Replacement washers, O-rings, or cartridges
- Plumbing grease
- Towels or a small bucket to catch water
Make sure to turn off the water supply before starting any repairs. Most leaks can be fixed with tools you probably already have at home.
How Do I Identify My Faucet Type?

Different types of faucets have different repair procedures. Here are the most common types:
- Compression Faucets: Usually have two handles (hot and cold) and use washers to control water flow.
- Cartridge Faucets: Can have one or two handles; a cartridge moves up and down to control water flow.
- Ball Faucets: Typically single-handle faucets with a rounded, ball-shaped cap; common in kitchen sinks.
- Ceramic Disc Faucets: Single-lever faucets that use ceramic discs to control water flow.
Knowing the type of faucet is essential because the steps to fix each are different.
How to Fix a Compression Faucet
Compression faucets are one of the oldest faucet types and are common in older homes. They use a washer at the base of the valve stem to control water flow, and leaks often occur when the washer wears out. Here’s a detailed step-by-step guide:
- Turn off the water supply
- Locate the shut-off valves under the sink and turn them clockwise to stop the flow.
- Open the faucet to relieve any remaining water pressure.
- Remove the faucet handle
- Use a screwdriver or Allen wrench to loosen the set screw on the handle.
- Gently lift the handle off. If it’s stuck, wiggle it slightly while pulling upward.
- Unscrew the packing nut
- Use an adjustable wrench to loosen the packing nut that holds the valve stem in place.
- Be careful not to scratch the faucet finish; wrapping the wrench with a cloth can protect the surface.
- Remove the stem and inspect the washer
- Pull out the stem carefully.
- Examine the rubber washer at the bottom; if it’s cracked, hardened, or worn, it needs replacing.
- Replace the washer
- Remove the old washer and match it to a new one of the same size.
- Attach the new washer securely to the stem.
- Reassemble the faucet
- Place the stem back into the faucet body and tighten the packing nut.
- Reattach the handle and secure the set screw.
- Turn the water back on and test
- Slowly turn on the shut-off valves and check for leaks.
- If dripping persists, inspect the valve seat for corrosion, which may require additional repair or replacement.
Tips: Worn washers and corroded valve seats are the most common issues. Keeping spare washers on hand can save future repair time.
How to Fix a Cartridge Faucet
Cartridge faucets are popular in modern kitchens and bathrooms because they are easy to use and maintain. Leaks usually occur due to worn O-rings or a faulty cartridge. Here’s how to fix it:
- Turn off the water supply
- Shut off the valves under the sink. Open the faucet to drain water remaining in the pipes.
- Remove the handle
- Loosen the set screw, often hidden under a decorative cap.
- Lift the handle straight off to access the cartridge.
- Pull out the cartridge
- Some cartridges have tabs that must be pressed to release them.
- Use pliers carefully if needed, avoiding damage to the faucet body.
- Inspect O-rings and cartridge
- Look for cracks, flattening, or damage on the O-rings.
- Replace worn O-rings or the entire cartridge if necessary.
- Grease and reinstall
- Apply a thin layer of plumber’s grease to the O-rings for a smooth fit.
- Insert the cartridge back into the faucet, ensuring it’s aligned correctly.
- Reattach the handle
- Secure the set screw and replace any decorative caps.
- Turn on the water and check for leaks
- Open the shut-off valves slowly and test the faucet.
Tips: Cartridge faucets are less prone to leaks than compression faucets, but regular inspection of O-rings helps prolong their life.
How to Fix a Ball Faucet
Ball faucets, often used in kitchens, have a unique ball-and-cam assembly inside the faucet body. They can be a bit trickier, but leaks are usually caused by worn seals or springs.
- Shut off the water supply
- Turn the valves under the sink and relieve pressure by opening the faucet.
- Remove the handle and cap
- Use an Allen wrench or screwdriver to loosen the handle set screw.
- Lift off the handle and remove the cap covering the ball assembly.
- Take out the ball assembly
- Use pliers to carefully remove the ball. Take note of the position and orientation for reassembly.
- Inspect springs and rubber seals
- Check cam washers, rubber seats, and springs for wear or damage.
- Replace any worn or damaged parts with exact matches from a faucet repair kit.
- Reassemble the faucet
- Reinsert the ball and all internal components in the correct order.
- Replace the cap and handle, tightening screws carefully.
- Turn on the water and test
- Slowly open the shut-off valves and check for leaks around the handle and spout.
Tips: Take a photo of the assembly before disassembly. This helps ensure everything goes back correctly. Ball faucets often leak due to worn cam washers, which are inexpensive and easy to replace.
How to Fix a Ceramic Disc Faucet
Ceramic disc faucets are highly durable and low-maintenance, but occasional leaks can occur, usually due to debris or damage to the discs.
- Turn off the water supply
- Shut the valves and relieve pressure by opening the faucet.
- Remove the handle
- Loosen the set screw and lift off the handle to access the ceramic disc cylinder.
- Unscrew the cylinder or disc assembly
- Carefully lift out the cylinder. Avoid dropping it, as ceramic discs are fragile.
- Inspect the ceramic discs
- Look for chips, cracks, or debris that could prevent proper sealing.
- Clean with a soft cloth and vinegar solution, or replace the disc if damaged.
- Reassemble the faucet
- Place the cylinder back carefully, ensuring correct alignment.
- Reattach the handle securely.
- Turn the water back on and test
- Check for consistent water flow and ensure the leak is gone.
Tips: Ceramic disc faucets are resistant to wear, but cleaning and periodic inspection of the discs and seals can prevent drips.
Can I Fix a Leaky Faucet Without Replacing Parts?
Sometimes a leak isn’t caused by a worn part but by loose fittings or mineral buildup. These fixes can often stop leaks temporarily:
- Tighten screws and nuts: Ensure all components are snug. Loose fittings often cause dripping.
- Clean with vinegar: Soak aerators, stems, or discs to remove mineral deposits that block proper sealing.
- Lubricate O-rings: Apply plumber’s grease to worn O-rings for a temporary seal.
These methods may not be permanent but can buy time until replacement parts are available.
How to Fix a Leaky Faucet in the Kitchen vs. Bathroom
While most repair steps are similar, it helps to understand the differences:
- Kitchen Faucets
- Often single-handle, pull-out, or ball types.
- Experience more frequent use and may have larger parts that are easier to access.
- Bathroom Faucets
- Often two-handle compression or cartridge types.
- Parts are smaller and sometimes more delicate, requiring careful handling.
Always inspect the faucet thoroughly before disassembly to understand its specific configuration.
How to Prevent Future Faucet Leaks
Once your faucet is fixed, taking preventive steps can save future headaches:
- Replace washers and O-rings before they wear out.
- Clean aerators and remove mineral buildup regularly.
- Avoid overtightening handles, which can damage seals.
- Monitor water pressure; high pressure can cause leaks.
- Schedule periodic inspections for all faucets to catch early signs of wear.
Regular maintenance is far easier than repeated repairs and helps extend the lifespan of your faucets.
How to Know When to Call a Plumber
Not all faucet leaks are easy to fix. Consider calling a plumber if:
- You notice persistent leaks despite replacing washers or O-rings.
- Water damage or mold appears near the faucet.
- The faucet handle or stem is broken beyond repair.
- Multiple leaks occur in several faucets at once, which could indicate a larger plumbing issue.
Professional help can prevent costly damage and ensure the repair is done correctly.
Common Mistakes When Fixing a Faucet
Even DIY enthusiasts make mistakes when fixing faucets. Avoid these pitfalls:
- Not turning off the water supply before disassembly.
- Losing small parts like screws, springs, or O-rings.
- Using the wrong size replacement washers or cartridges.
- Over-tightening components, which can cause cracks or leaks.
- Ignoring corrosion or damage that requires part replacement.
Being cautious and organized can save time and frustration.
Frequently Asked Questions About Faucet Leaks
Why does my faucet leak only at night?
This can happen due to small changes in water pressure or a worn washer that only leaks under certain conditions.
Is a dripping faucet wasting a lot of water?
Yes. A faucet dripping once per second can waste over 3,000 gallons of water per year.
Can I use tape or sealant to stop a leak?
Temporary fixes like plumber’s tape can help in a pinch, but replacing the faulty part is the permanent solution.
Do I need special tools for a specific type of faucet?
Most standard tools like wrenches, screwdrivers, and pliers will work. Some specialty faucets may require an Allen wrench or basin wrench.
In Summary
Knowing how to fix a leaky faucet is a valuable skill for any homeowner. By identifying the type of faucet, using the right tools, and replacing worn parts, you can save water, reduce your bills, and prevent bigger plumbing problems. From compression and cartridge faucets to ball and ceramic disc models, most leaks are fixable with patience and a little DIY know-how.
Remember, preventive maintenance is key. Regular inspections, cleaning, and timely part replacement can keep your faucets working smoothly for years. And if a repair seems too complicated, calling a professional plumber is always the safe choice.